American Bright

“When you’re out of quality, you’re out of business.”
Unknown Author

At American Bright Works we take quality very seriously. In addition to our ISO 13485 quality system and our highly knowledgeable and trained production staff, we utilize a variety of control tools to ensure you get the best quality we can provide.


The Konica Minolta CM-5 Spectrophotometer is used for color measurement of titanium anodized parts. With the ability to measure reflected color and to store the color parameters in part number-specific format, we can ensure that you receive consistent color for every order that we anodize.

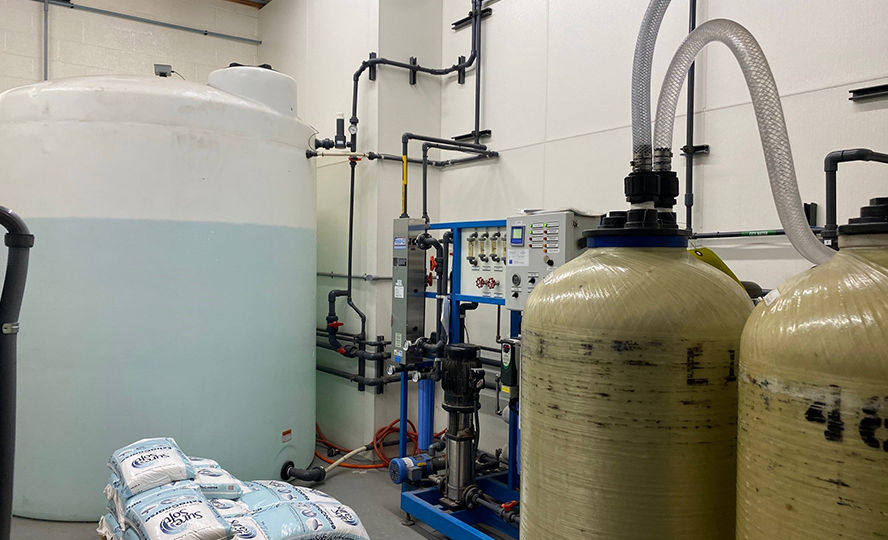
DI water system is an essential part of all production processes. Many dissolved impurities are found in water (calcium, sodium, chlorides, etc). The deionization process removes these ions via ion exchange on (+) or (-) binding sites on resin beads. The quality of DI water is typically measured in terms of resistivity or conductivity. Pure deionized water has a resistivity measurement of 18.2 megohms, a conductivity measurement of 0.055 microsiemens and is an extremely poor conductor of electrical current with all ions removed. ABW’s DI water system runs through both anion (-) and cation(+) resin beds as well as a mixed bed to produce ultra pure water. ABW’s DI water system runs at 15-18 megohms, giving your parts ultra clean rinsing during processing. 

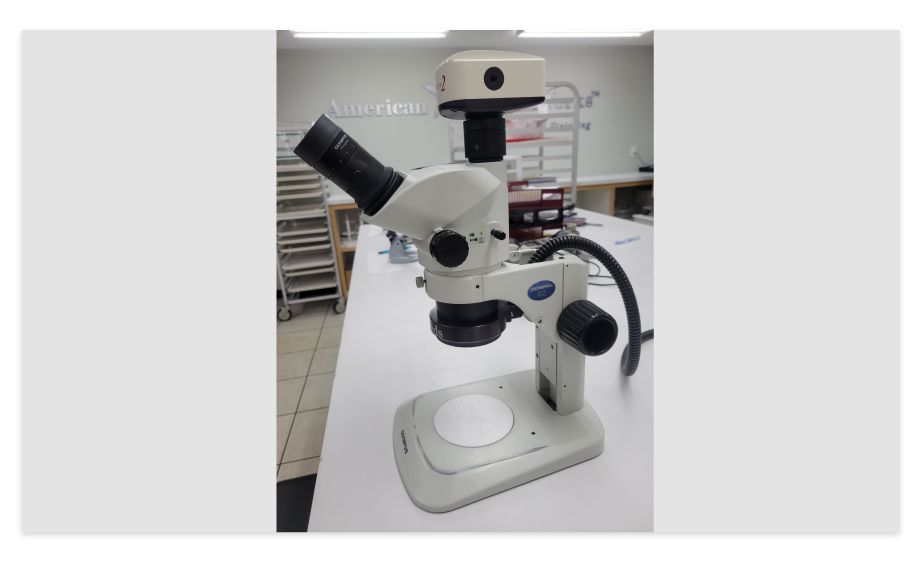
The Olympus SZ61 camera with attached Lumenera Infinity 2 digital camera allows up close inspection of small parts. Our Olympus microscope allows for 90X magnification. Used in conjunction with the Infinity 2 camera we can communicate any issues or problems we see on part surface easily with our customers. The Infinity 2 also allows for live viewing on a computer monitor which is a great teaching tool for training several operators at the same time.

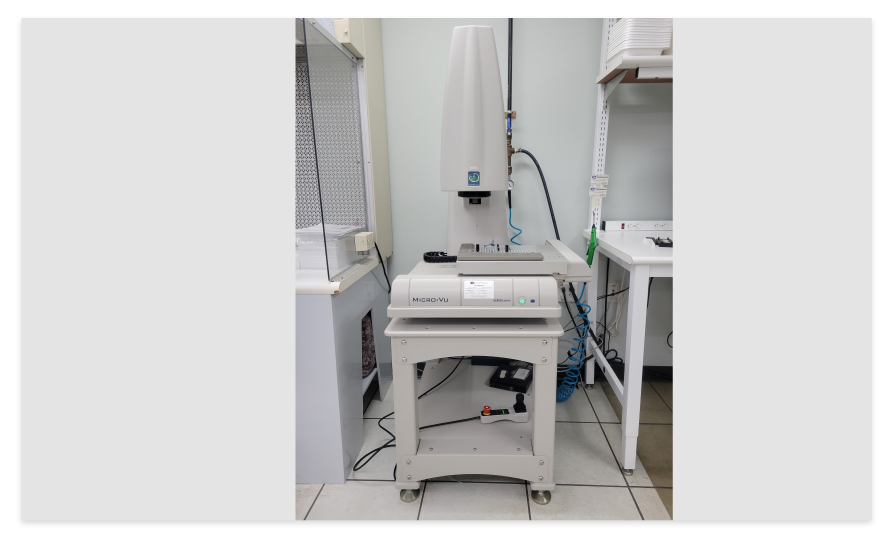
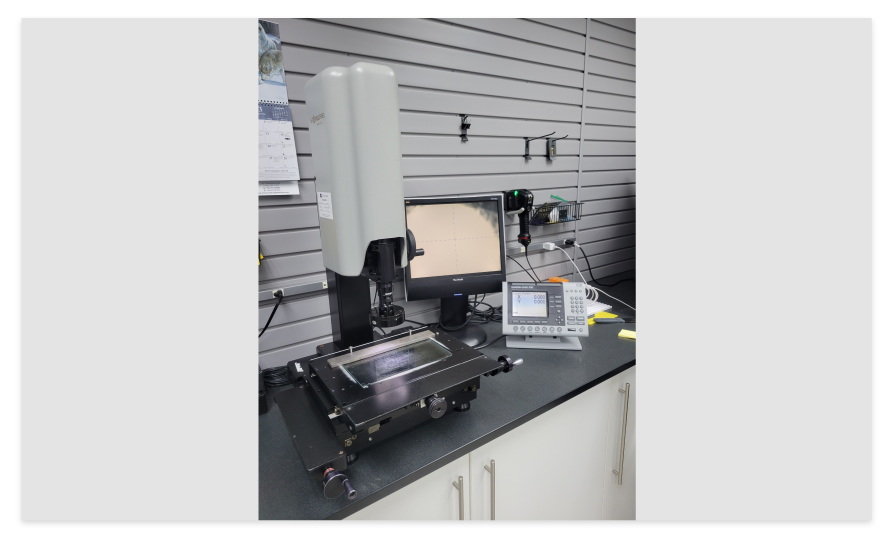
Our vision system is a Video Inspection System with high resolution zoom optics, from 30X to 180X. The system contains LED profile and surface illumination, digital crosshair generator with automatic edge indicator and is displayed on a 17″ flat screen color monitor. This tool is very useful for those hard to measure parts (using a standard micrometer) and for measuring text height and spacing in our laser marking process. The vision system has the ability to measure distance between two points, circles, angles, and other geometric shapes or a series of any like features.

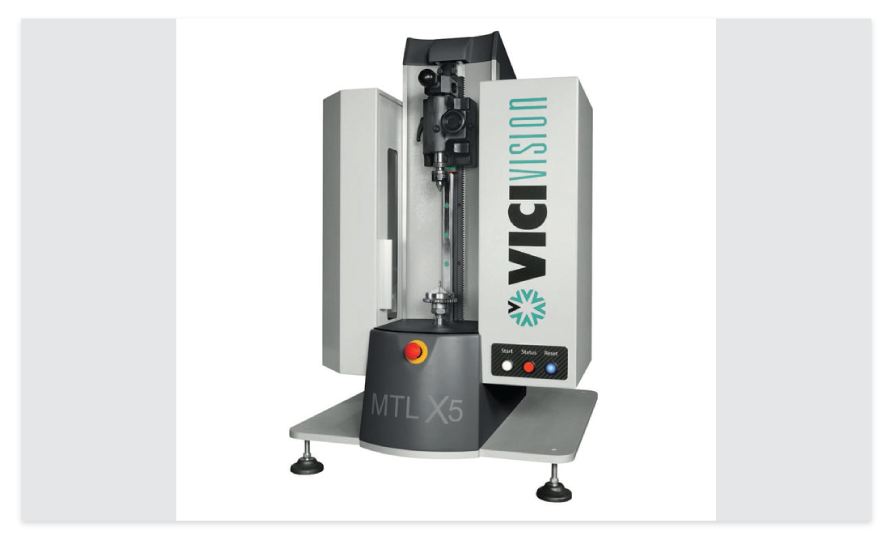
VICI MTL X5 is an optical measuring machine specifically designed to measure micro-mechanical parts, dental implants, watch parts and micro-parts in general. This high-resolution machine, detects even the smallest details. Capable of measuring parts while static or rotating, can evaluate hexagon and other geometric shapes as well as thread conformance.

Additionally American Bright Work employes the standard equipment listed below:

  • Microscope; with and without cameras
  • Laser mics
  • Benchtop mics
  • Calipers
  • Profilometers
  • Spectrophotometer
  • Immersion tester
  • Copper sulfate test
  • Humidity chamber